I had intended to write about the difference in bread making when it comes to freshly ground grain. Today is a good day to do that. Yesterday, being so rainy, and seeing how I had given my remaining loaf of fresh wheat bread to our guests to take home, I had ground and made enough dough for a fresh loaf of wheat/rye. I don't have a precise ratio on the flour. It's about one cup of rye flour, three cups of red wheat, and a half cup of store bought bread flour to adjust the moisture as needed. I cook the way Justin Wilson did. I can measure tablespoons and teaspoons in the palm of my hand.
 |
| Whole wheat/rye starting final rise before baking |
What in the world did my talking about pizza have to do with making a loaf of wheat bread? Hang in there. I really do have a point for those of you who like to make your own bread at home.
 |
| Dough ball ready for refrigeration |
The other tip that Alton gave was to refrigerate your dough ball for a few hours at minimum, or overnight at best, right after getting all the wet and dry ingredients kneaded thoroughly. He didn't really explain this tip, probably due to lack of time, but I understood it intuitively.
When you buy flour from the store, it might have been ground months ago. You can knead such dough thoroughly and only let it rest for an hour or so before punching down and re-forming your loaf before the final rise before baking. This will produce a pretty decent loaf. But when I started making bread from freshly ground flour, I noticed that no matter how much yeast I used, when I tried to do a standard rest and rise period, I ended up with a dense and somewhat crumbly loaf. Then it came to me.
 |
| Our own precious sun-dried tomatoes |
I'm grinding my own grain now. This flour is the freshest you can get, and the proteins are still pretty much alive, albeit dormant. The secret to denaturing the proteins was going to be in letting the dough rest overnight in the fridge, for at least 12 or more hours. Let the water and the eating of the yeast on the sugars relax the proteins and prepare it for the final kneading. Eureka! The next loaf came out great, without a lot of extra kneading. I didn't need to work harder, I just needed more patience.
I had made a loaf of focaccia bread a couple of weeks ago, and it was really just a test run. It came out great. I had cooked it on my pizza stone. Think of it as a pizza crust, but without any real topping, except for some sprinkled fresh herbs and maybe some sun dried tomato. I put one thin layer on top of another with the olive oil and herb mix between and on top of the layers.
 |
| Sage, Oregano and Parsley from the back yard |
Today I ground fresh grain to make the next batch of focaccia. This time I will take photos to share and will update them to this post accordingly. I decided to experiment with the flour as well. The ratio is one cup of rye, two and a half cups of red wheat, and a half cup of quinoa. I think the quinoa has an aroma similar to semolina and I think it will add a nice touch of flavor to the bread. I went out and snipped some fresh sage, oregano and parsley from the garden. I'll mince up some fresh garlic. About two-thirds of that will go into the marinara sauce that Twyla wants to make, and the rest will go into some extra virgin olive oil to get layered into the bread before rising to bake.
 |
| First two layers with herb mix |
 |
| Ready for the oven |
--- I'm telling you, if you like home-made pizza, you GOTTA have a pizza stone. Mine is so well used and well seasoned that it is as non-stick as teflon. ---
Then I spread the garlic/herb/olive oil on, then repeat the step with the second dough ball, but then I add the moistened sun-dried tomatoes. Then I repeat the step again with the third ball of dough and add more tomatoes. And the product that is ready for the oven looks like this:
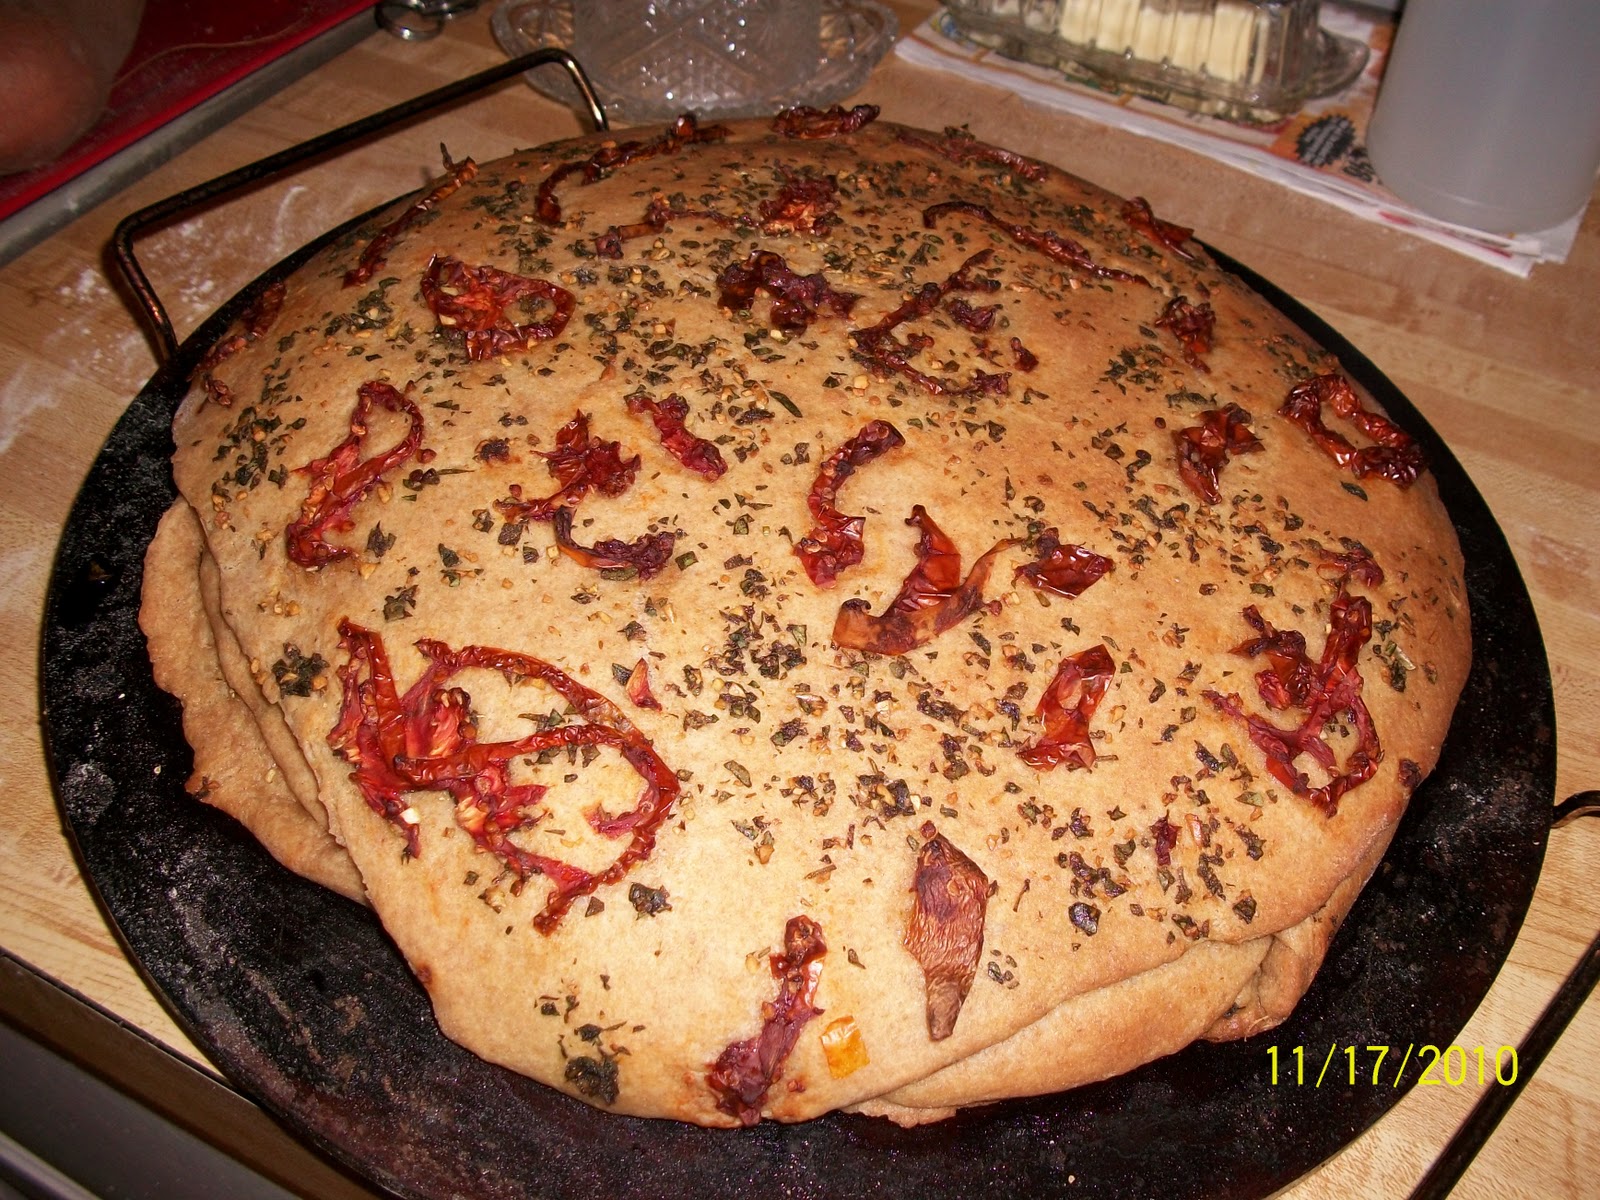 |
| Yummy focaccia goodness |
Notice the size difference on the stone? The space change between the pieces of tomato? This is a light and fluffy, melt-in-your-mouth masterpiece.
But it's a team effort. I have to spend a lot of time outside taking care of other chores. Twyla was inside making the wonderful marinara/spaghetti sauce for dipping with this. That just happened to be what we wanted with it this time. Seeing how we are both amateur chefs we sat at the table enjoying this, but then discussing how many other things would go well with it. I could make a great Alfredo sauce from scratch. It would be great just with olive oil and fresh ground pepper and some more herbs. Because the layers don't really stick together because of the oil/herb mix, you could cut the center into squares and make awesome sandwiches out of it.
 If there was a way that I could contain the smell of this bread baking and post it on this blog, it would make your mouth water.
No comments:
Post a Comment
Please don't make me disable comments because you couldn't maintain decorum and civil discourse. You can disagree all you want to, just don't get nasty.